
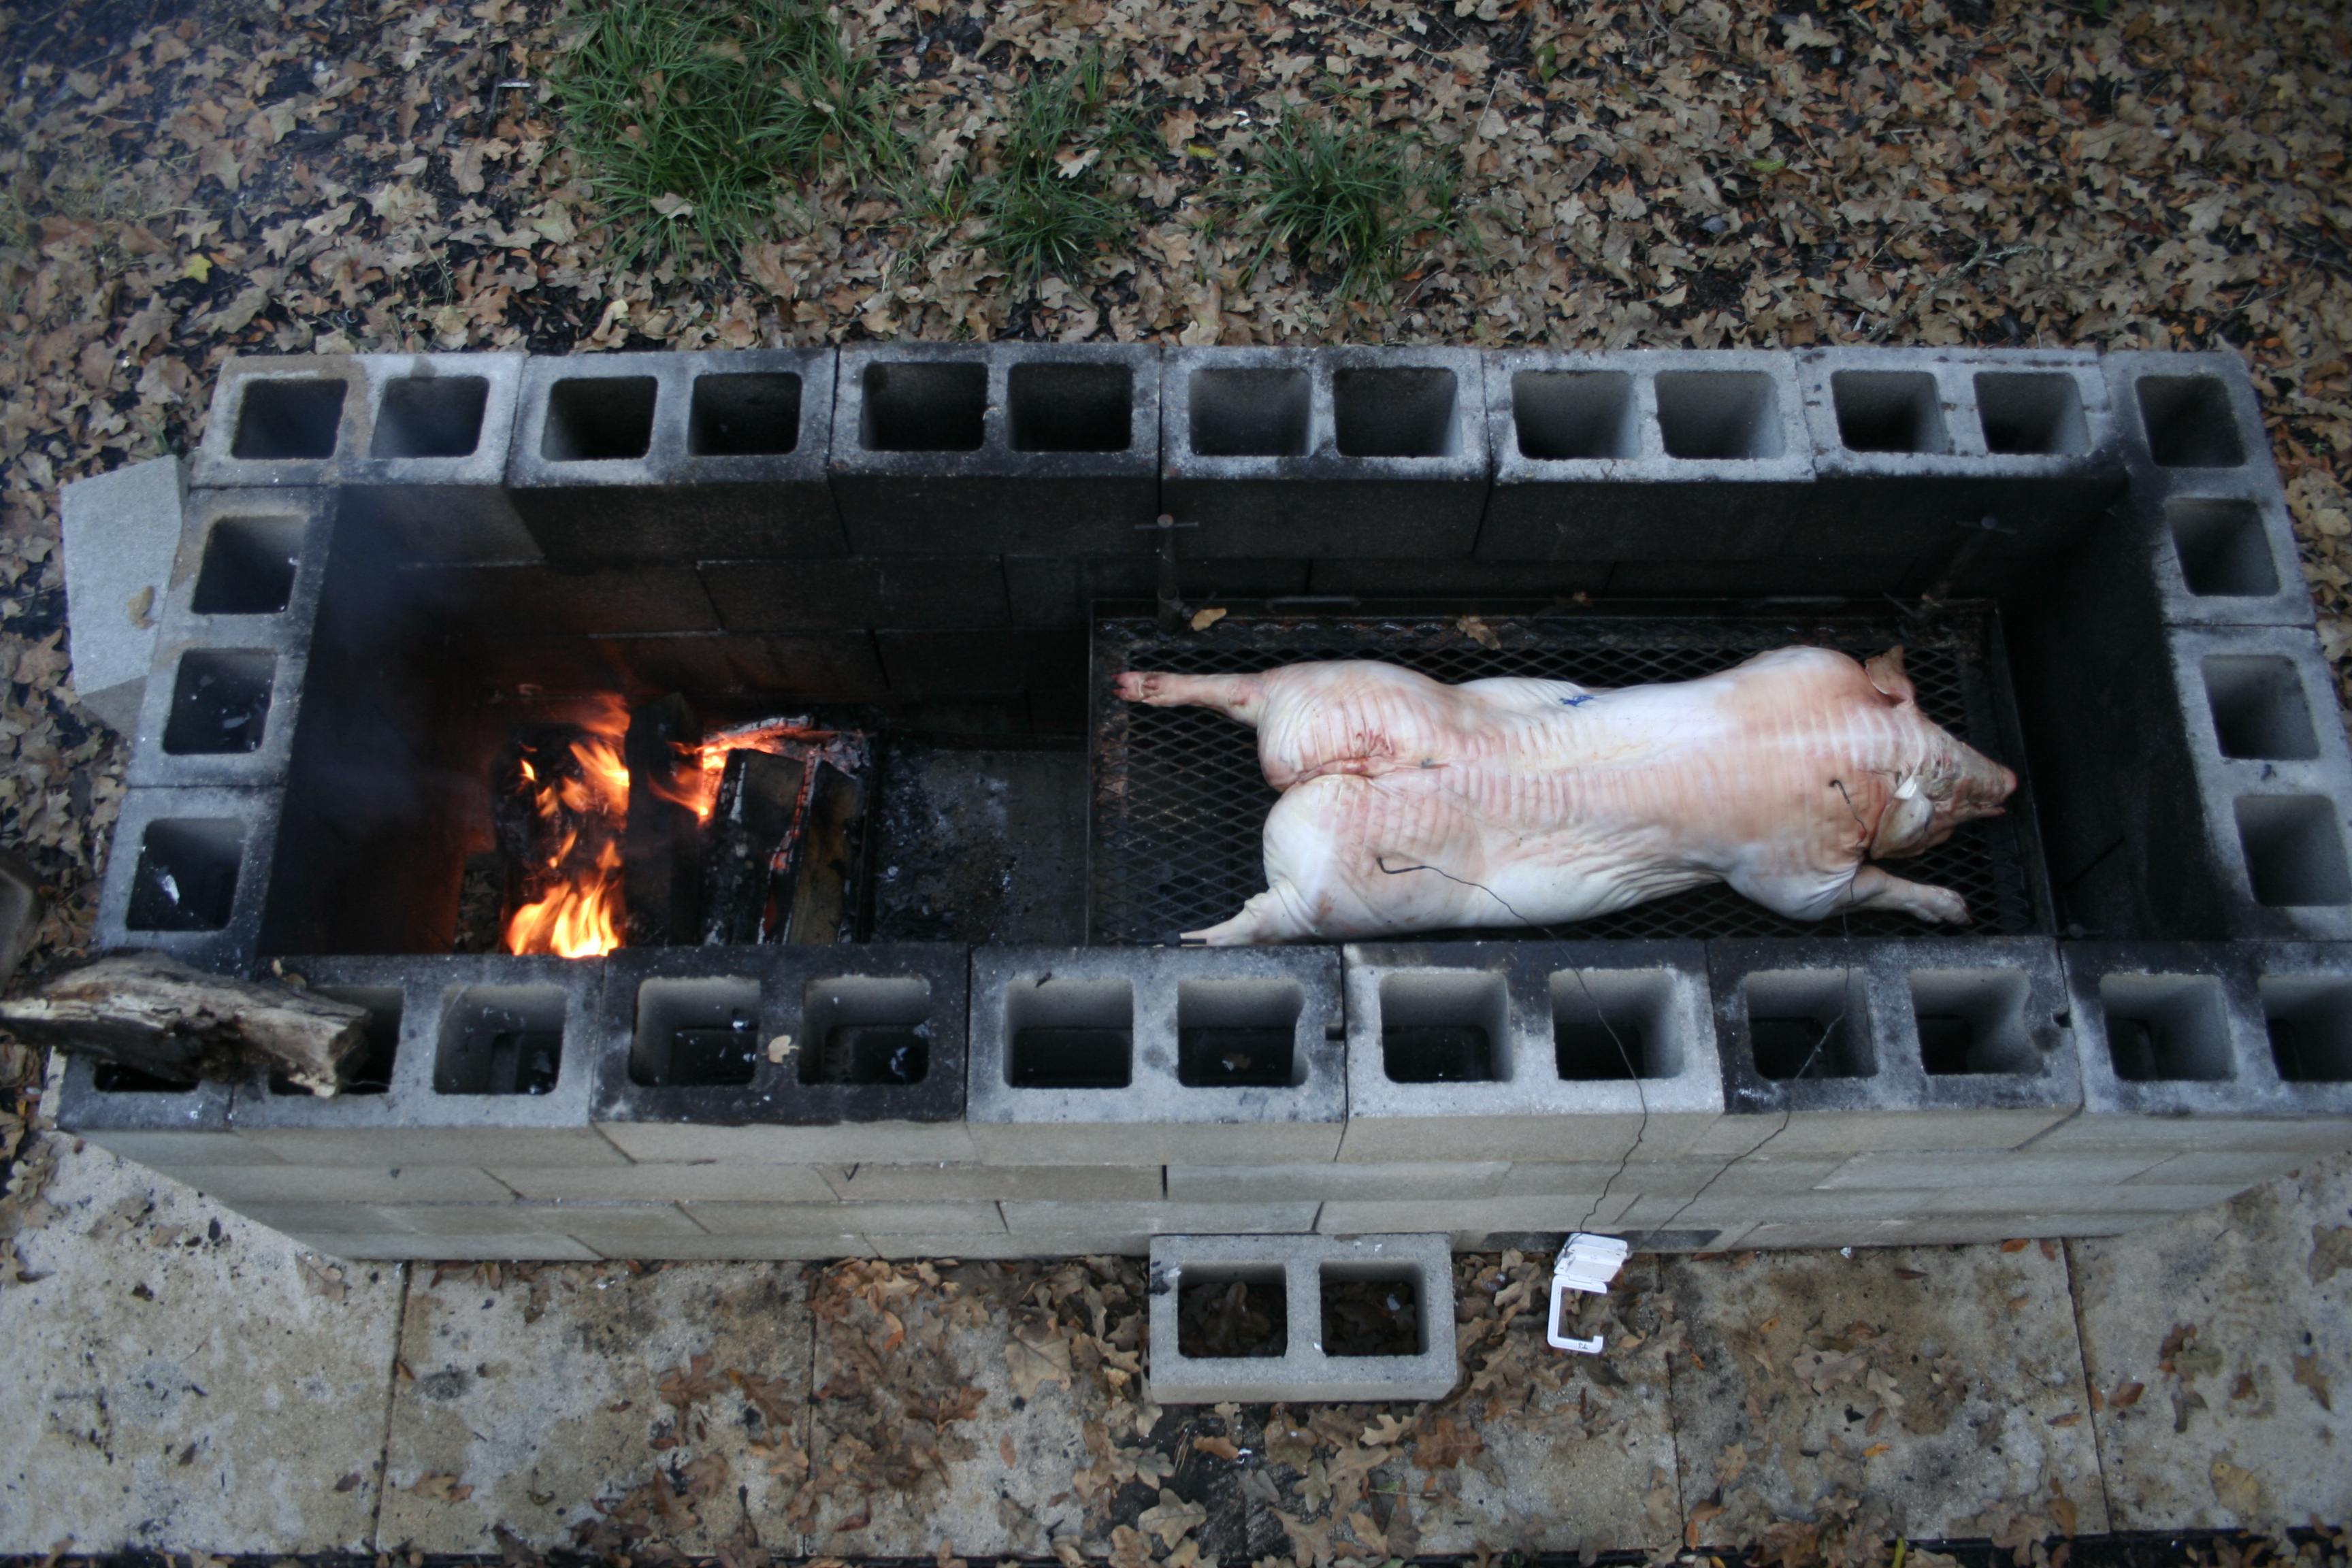
Cinder-block pit with fire and pig
Several years ago, my son-in-law, Thomas Larriviere and I built this cinder-block pit in my backyard so that we could host the whole-hog cooking demonstrations for the Texas Barbecue class and Barbecue Summer Camp. We have received many requests for how to build such a pit so here are some photos and tips for how we built this one.
Cinder-block pit
Cinder blocks are a great building tool for many things. I like to think of them as “adult Legos.” These blocks are 8 X 8 X 16 inches so it makes it easy to lay out and configure the size you want to build. In addition, these blocks are not too expensive, can be found at any home improvement store or lumber yard, and can be easily replaced if broken.
18 X 18 inch concrete blocks serve as the base
We located the pit in a seldom-used part of the yard. We cleared remaining grass and put down sandbox sand to level the area. We purchased 18 X 18 inch concrete blocks to serve as the base of the pits. The blocks where fire has been built have cracked, but not to the point where they are unusable. Fire bricks would be good to place inside the pit, but for no more than what this pit is used, I don’t think they are necessary.

Pig on adjustable metal stand

Cooked pig on stand being removed from pit
The pit is four-courses high, which is about the right height to place the stand inside it that holds the whole-hog (I have cooked briskets and Boston butts on the stand, and it works well for that, too). The stand is made of expanded metal inside a rectangle of angle iron with four handles attached so that the stand can be carried to and from the pit. The legs are adjustable so that the height of the stand can be raised or lowered or can be removed so that the stand with the pig on it can be placed on a table for serving. My friend, Bill Averyt, who owns a machine shop, built this stand for me.
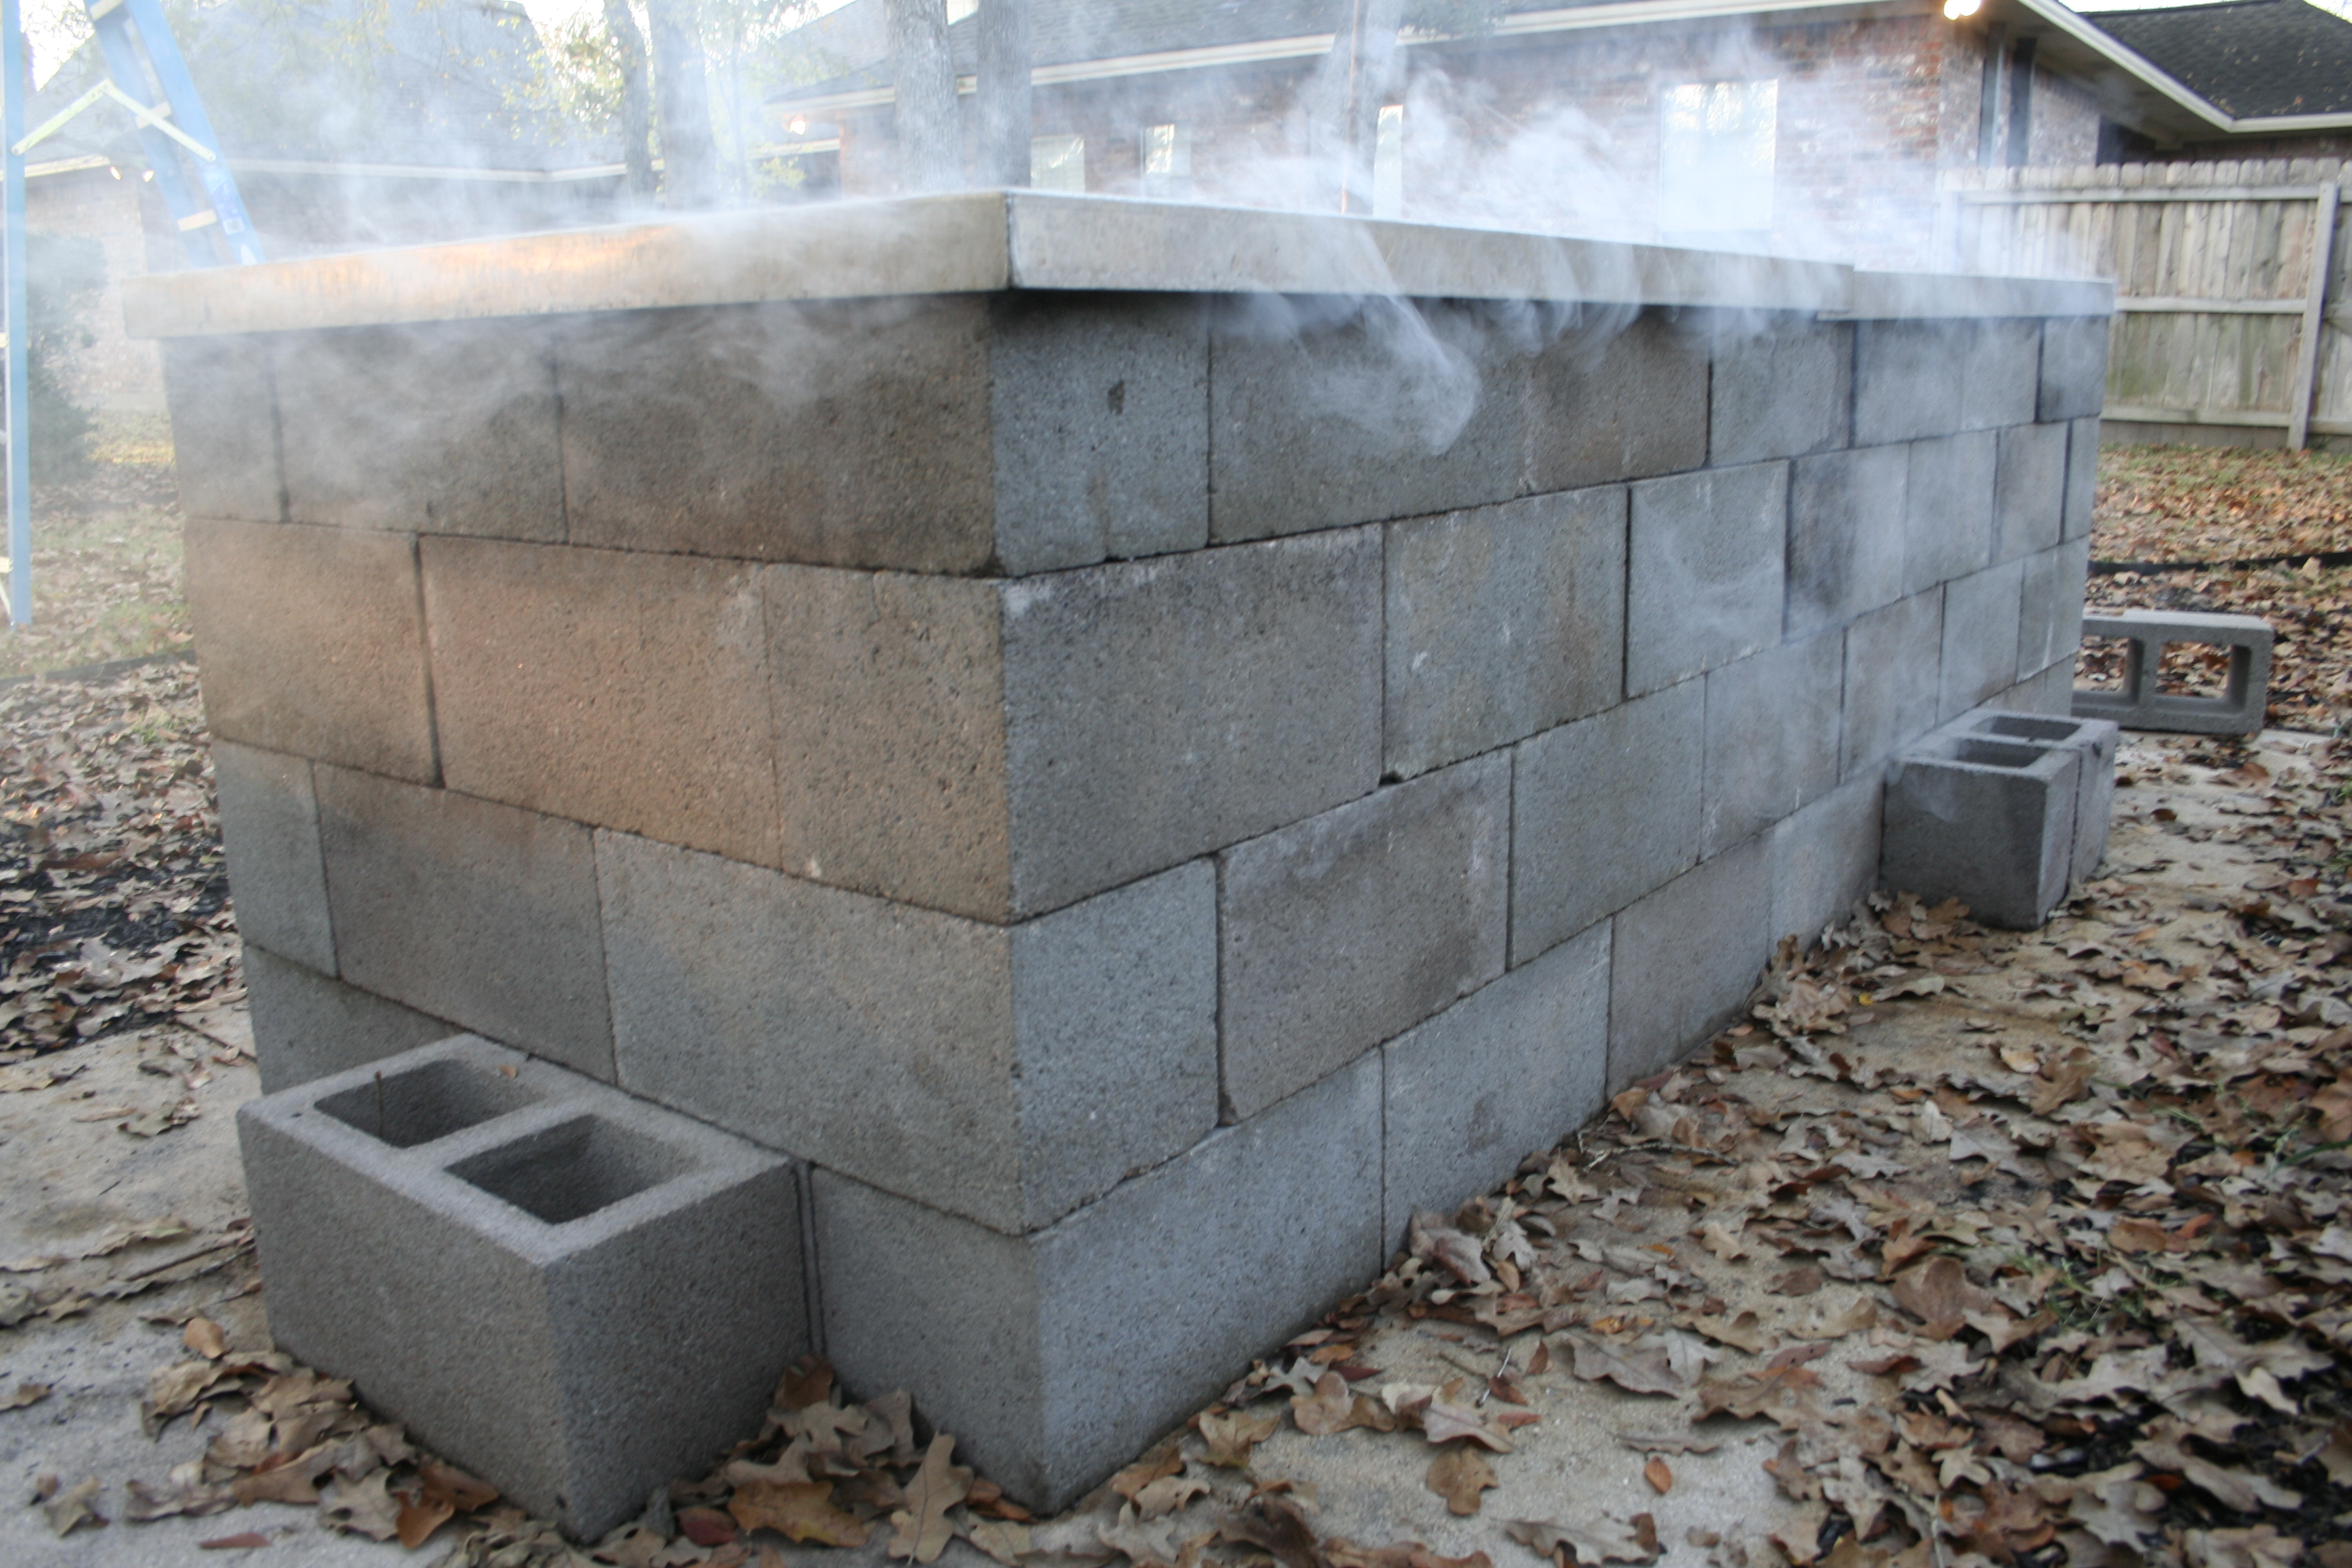
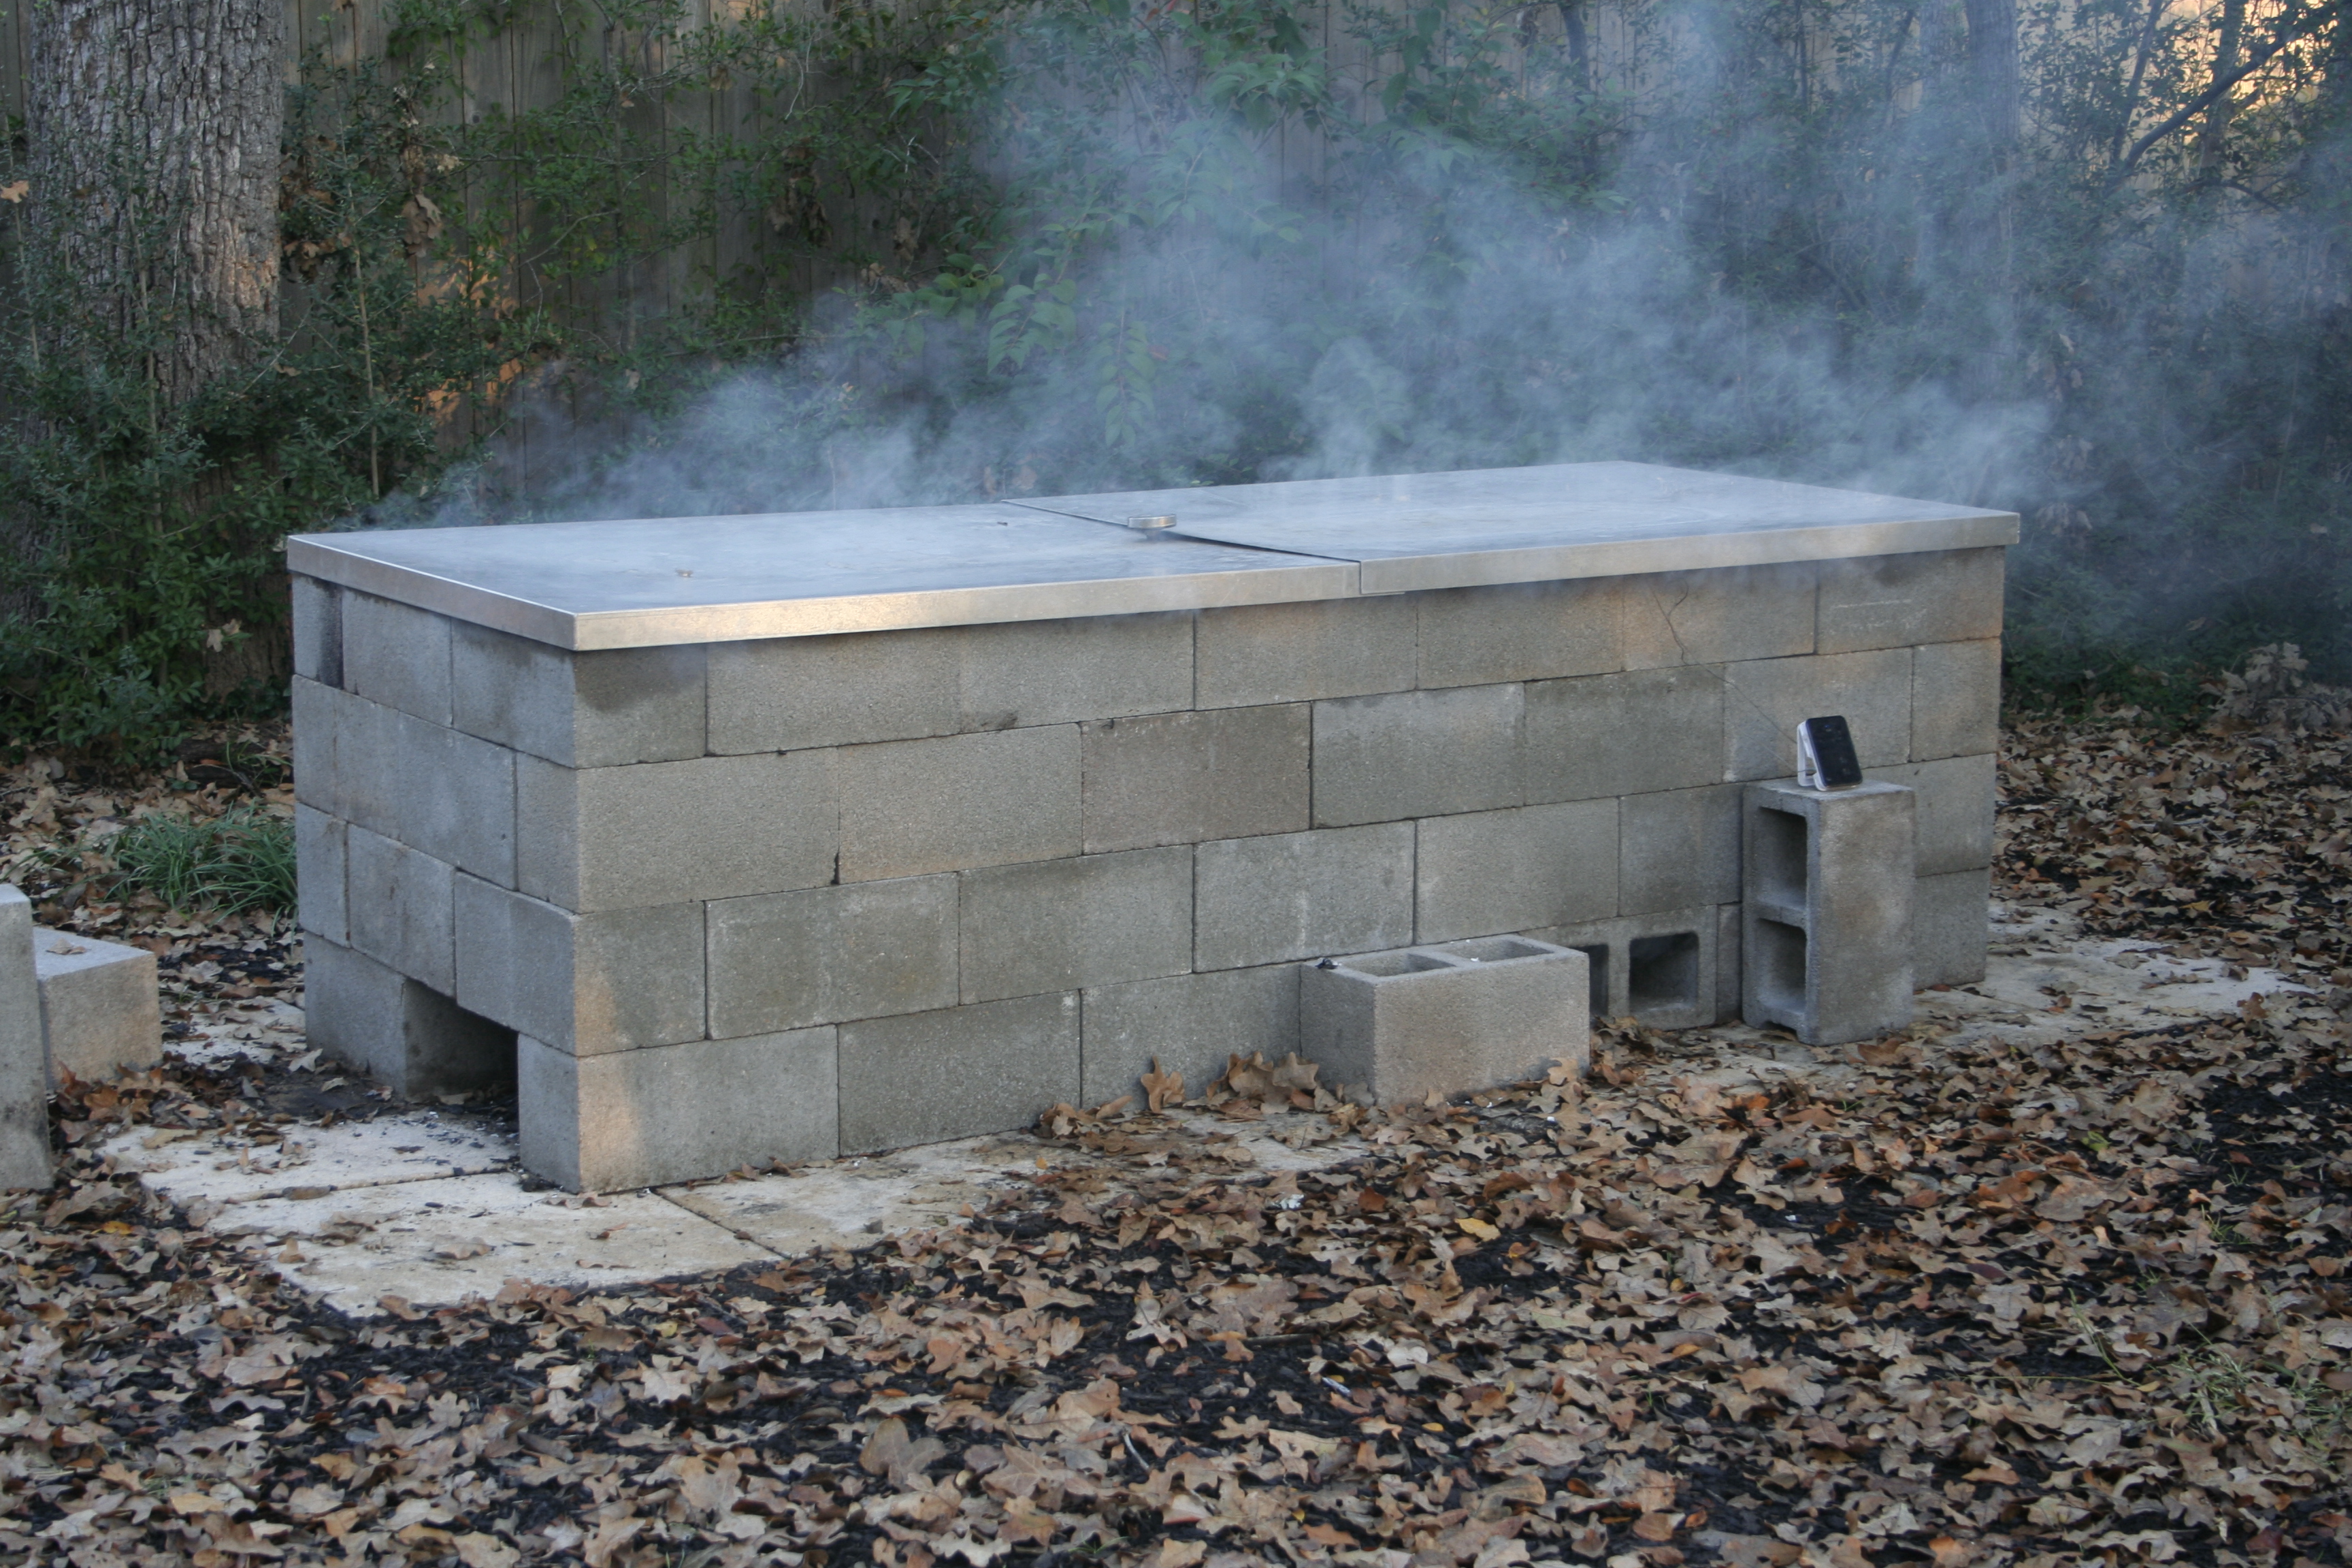
Cinder-block pit smoking away
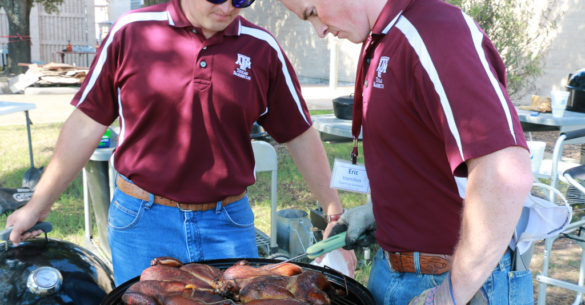
Another great feature of this pit is the four rectangle pans that Bill built for it. These serve as either the fire pans or drip pans so that the grease does not get into the fire area and start a grease fire. There are times we built a fire in the two end pans and leave the two middle pans to catch the grease, or as the photo at the top depicts, one fire is built in the end and the other three pans serve as grease-catch pans.

Two-piece sheet metal top

Thermometer
The last feature of the pit is the top. Bill made this out of sheet metal so that it is in two pieces that fit one over the other (about four inches or so). Also, Bill drilled two holes for dial thermometers, although now we just use the one over the middle of the pit. Corrugated sheet metal could be used here is you do not have someone who can fabricate some metal for you.
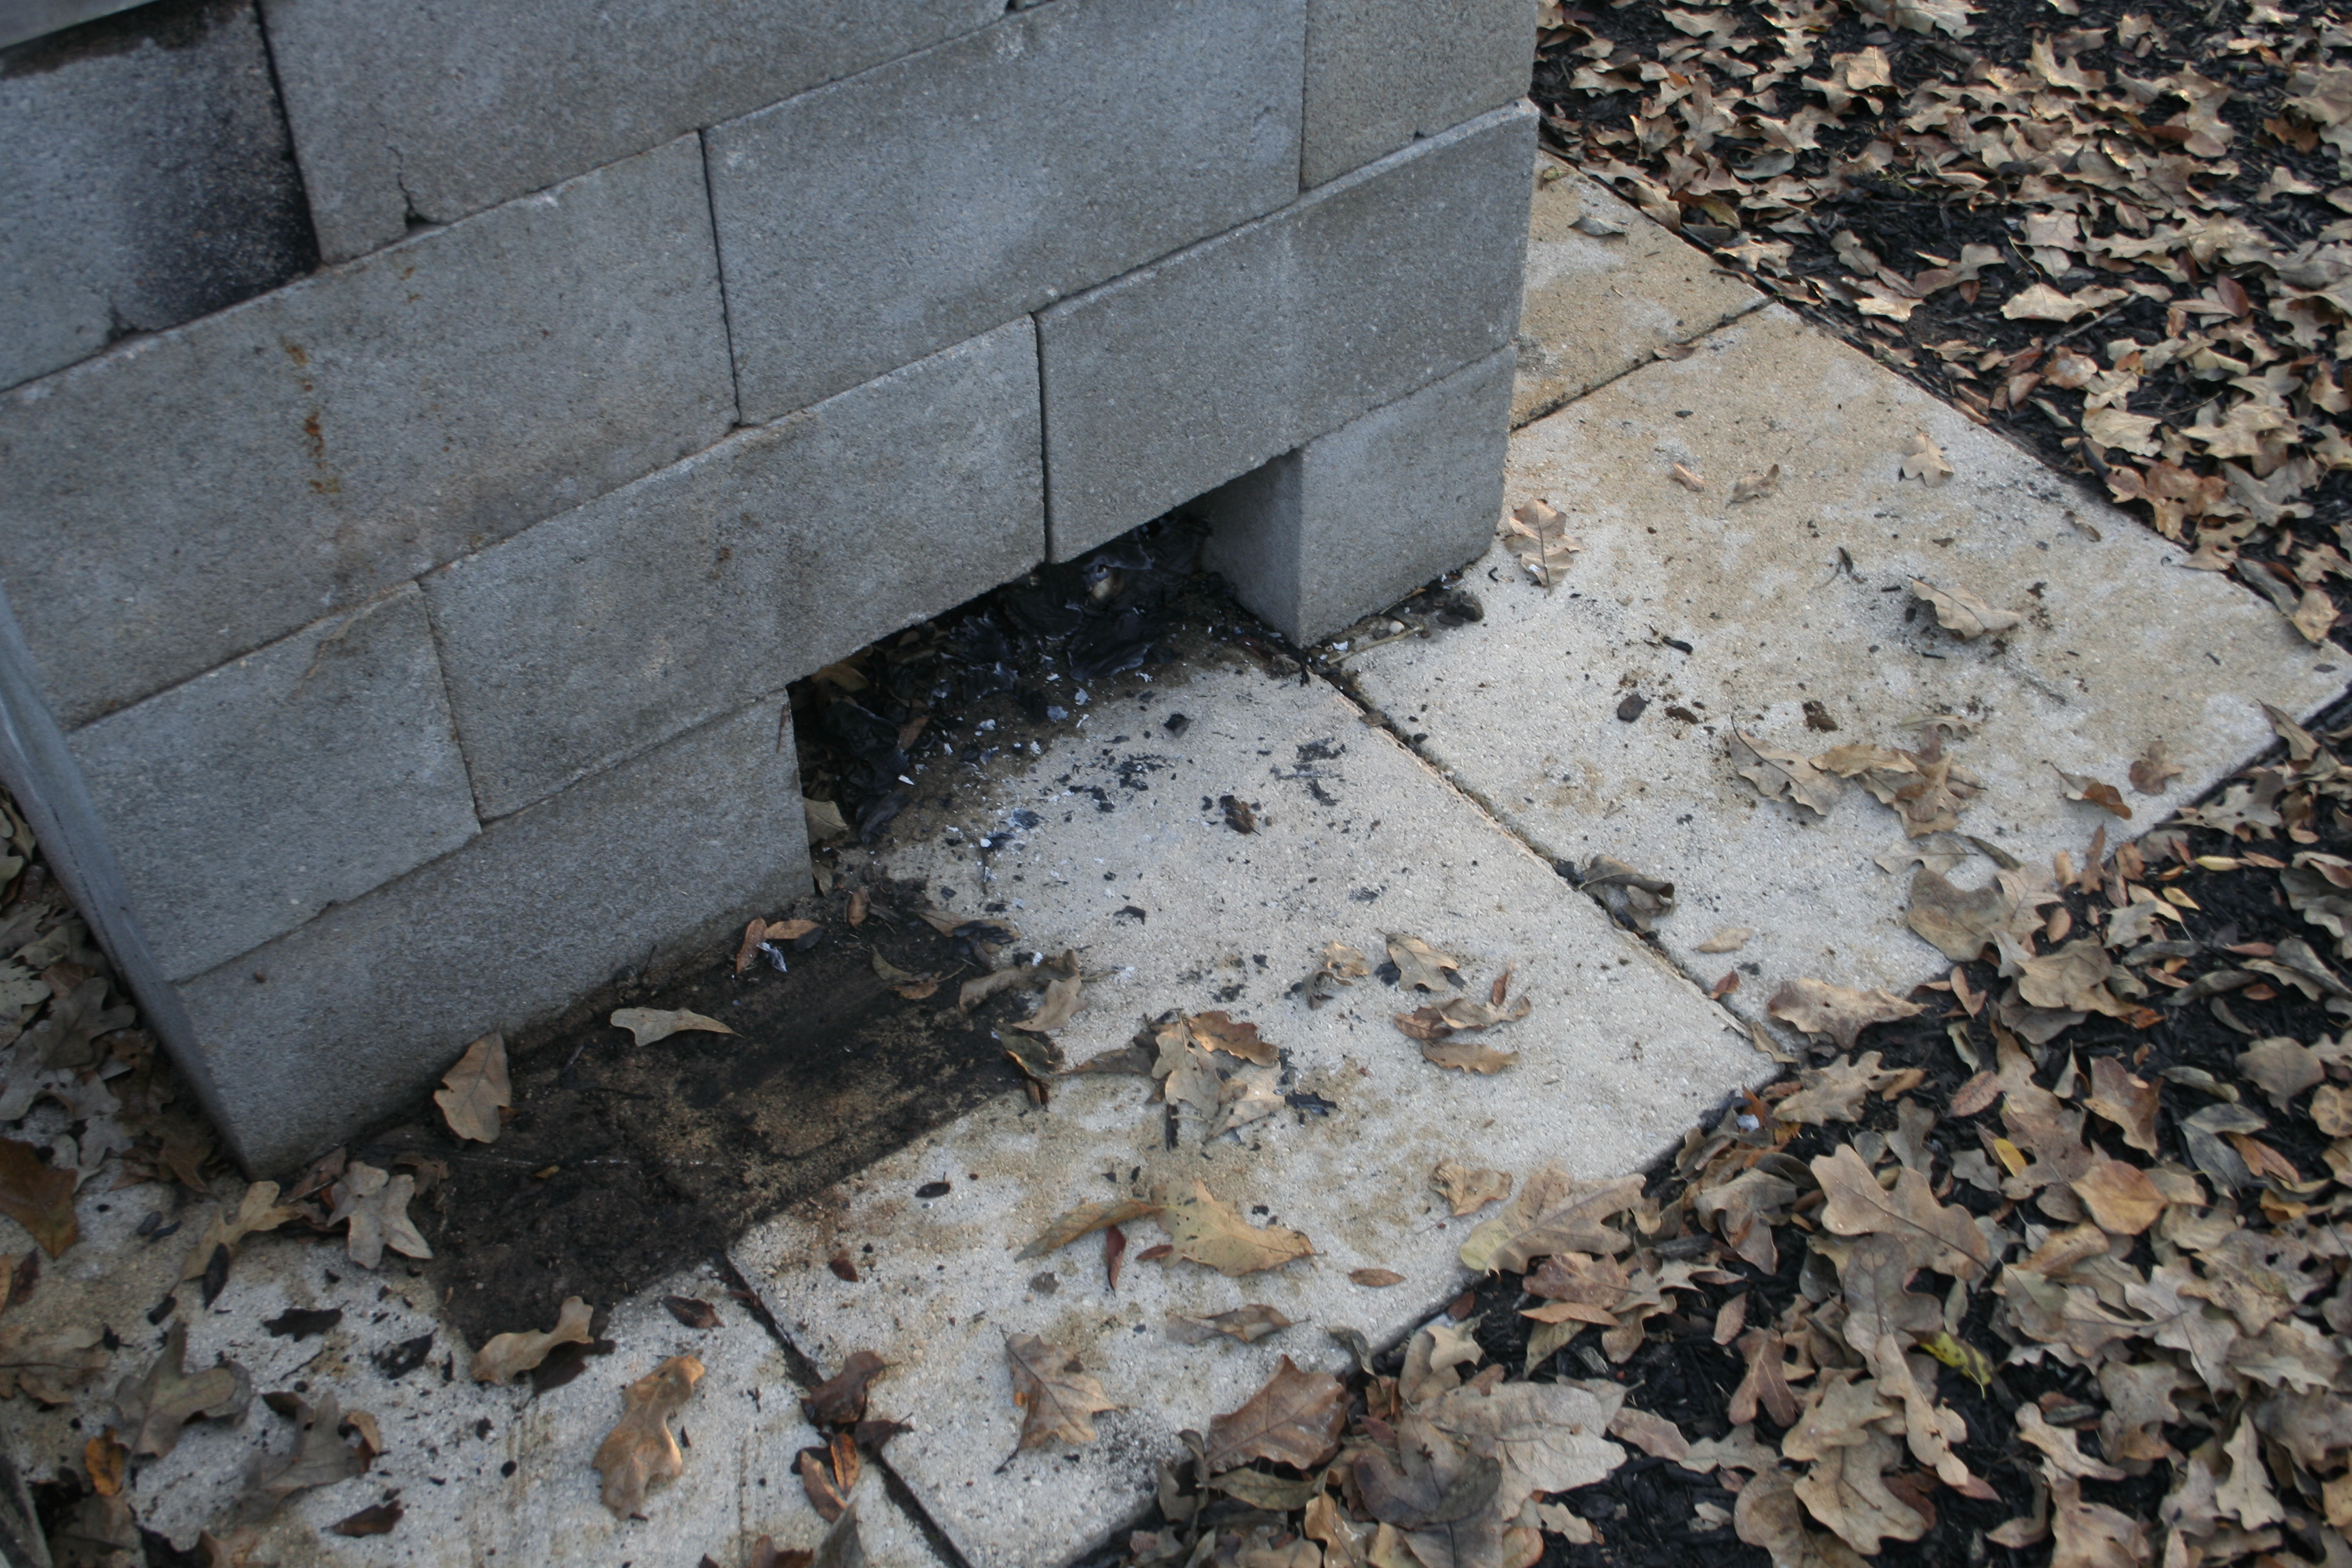
The pit holds its heat very well. On each side and on the bottom course of blocks, there are blocks that are turned on their sides so that air can enter the pit. We use cinder blocks to close these makeshift dampers and that seems to work quite well.
I am sure that there are many ways of improving this pit or to make your own that would suit your needs. The only real costs are in the stand, drip pans, and top, but with the ingenuity that most barbecue fanatics possess, that is not much of a challenge.


Pingback: BBQ News: 11/30 – 12/05 : TMBBQ